
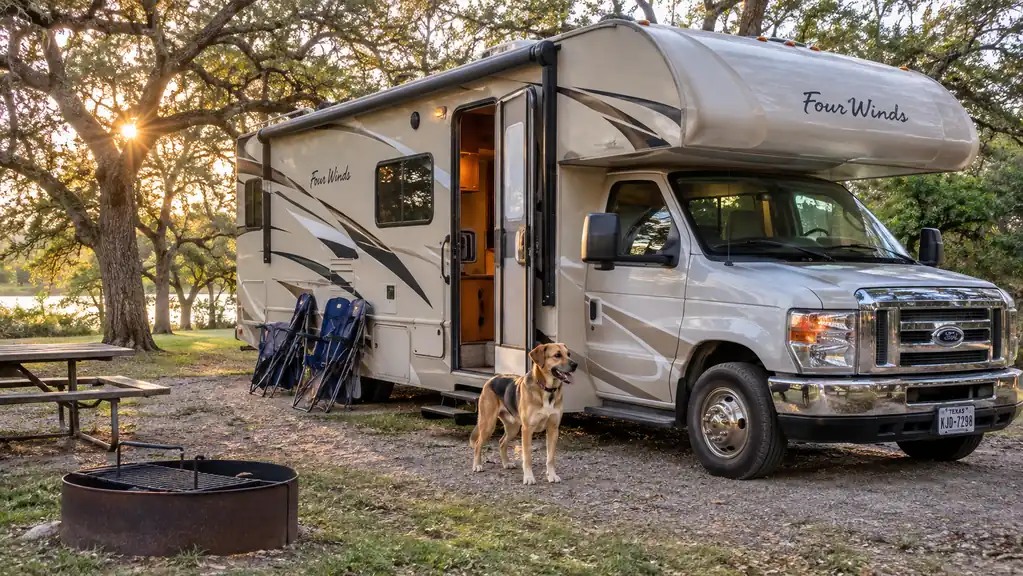
Nobody buys an RV because they are excited about the dump station. Dean and I sure didn't. We bought a used 2019 Class C three years ago, about 25 feet of it, and the first time we pulled up to a dump station we stood there reading the panel like it was a test we had not studied for. The hose that came with the rig was thin enough that I could nearly see daylight through it. I remember thinking that whatever came out of that tank was going to have opinions about it.
It made it through our first trip. On our second trip the hose split near the fitting at the dump station. Nothing dramatic, just a drip I rinsed off the concrete with a jug of water, but it told us what we needed to know. We replaced it with the Camco RhinoFLEX 15 Ft Complete Sewer Hose Kit, bought on Amazon, and it has ridden in the outside storage bay on every trip since. Six trips a year, mostly state parks and private parks in Texas, Oklahoma, Arkansas and New Mexico. The dumping part quietly stopped being the part I dread.
The Hose That Made the Dump Station the Easy Part of the Day
Camco RhinoFLEX 15 Ft Complete Sewer Hose Kit: one 15-foot hose with the fittings already attached, a clear elbow with a 4-in-1 adapter, 3-inch outside diameter, 3 pounds. Ours has gone out on every trip for three years and lives in a lidded bin in the bay.
Amazon Check Today's Price on Amazon →What Comes in the Kit, and Why It Matters at the Dump Station
Camco calls it a complete kit, and that word is doing real work. Inside the box is one 15-foot sewer hose with the fittings already attached, plus a clear elbow with a 4-in-1 adapter. That is it. No clamps to hunt for, no separate adapter to order, nothing to assemble at the back of the rig while your husband holds a flashlight in his teeth.
The listing numbers are 180 inches long, 3 inches outside diameter, and 3 pounds. The wall thickness is listed at 0.023 inches. The material is alloy steel and polyolefin, and it carries a limited one-year warranty. I am not an engineer and I will not pretend the material spec means much to me on its own. What it has meant in practice is a hose that holds its shape when Dean pulls it out of the bin, that does not fold into a pinch halfway to the inlet, and that has not split, cracked or leaked in three years of use.
The 4-in-1 adapter handles the part nobody warns you about, which is that dump station pipes are not all the same size. The adapter is built to fit a range of them, so you are not standing over a pipe trying to decide whether your hose end is close enough to count. Dean has used it on the wide-mouth pipes at one private park in Arkansas and on the narrow ones at a state park outside Nacogdoches, and it seated on both.
One practical note for anyone past 60: 3 pounds is the whole kit. That sounds like nothing, and it is, which is exactly the point. The old hose was lighter still, but it fought back every time I uncoiled it. This one comes out of the bin, does its job, and goes back without a wrestling match on my knees.
Step 1: Park So the Outlet Ends Up Closer to the Inlet
On a Class C, the sewer outlet sits on the driver side, usually a few feet behind the rear wheels. Before Dean shuts the engine off, I am already out of the passenger seat looking at where the dump station pipe actually is. A pull-through that looks convenient from the driver's seat can leave you three feet short on the wrong side, and then you are backing up with a hose in your hand and a line forming behind you.
What we want is the outlet as close to the inlet as we can get without the rear bumper hanging over the concrete pad. Fifteen feet is 180 inches, which is longer than most people picture and shorter than you think once you have to route it around a wet patch or a bollard. Get the rig right first. Everything after that gets easier.
Then we stage everything before anything gets opened. The lidded plastic bin comes out of the outside storage bay. Gloves go on. The hose comes out and lies on the ground with both ends within reach. No handle gets pulled until both ends are connected. That order is the whole trick, and it took us two trips to learn it.
Step 2: Connect Both Ends Before Anything Flows
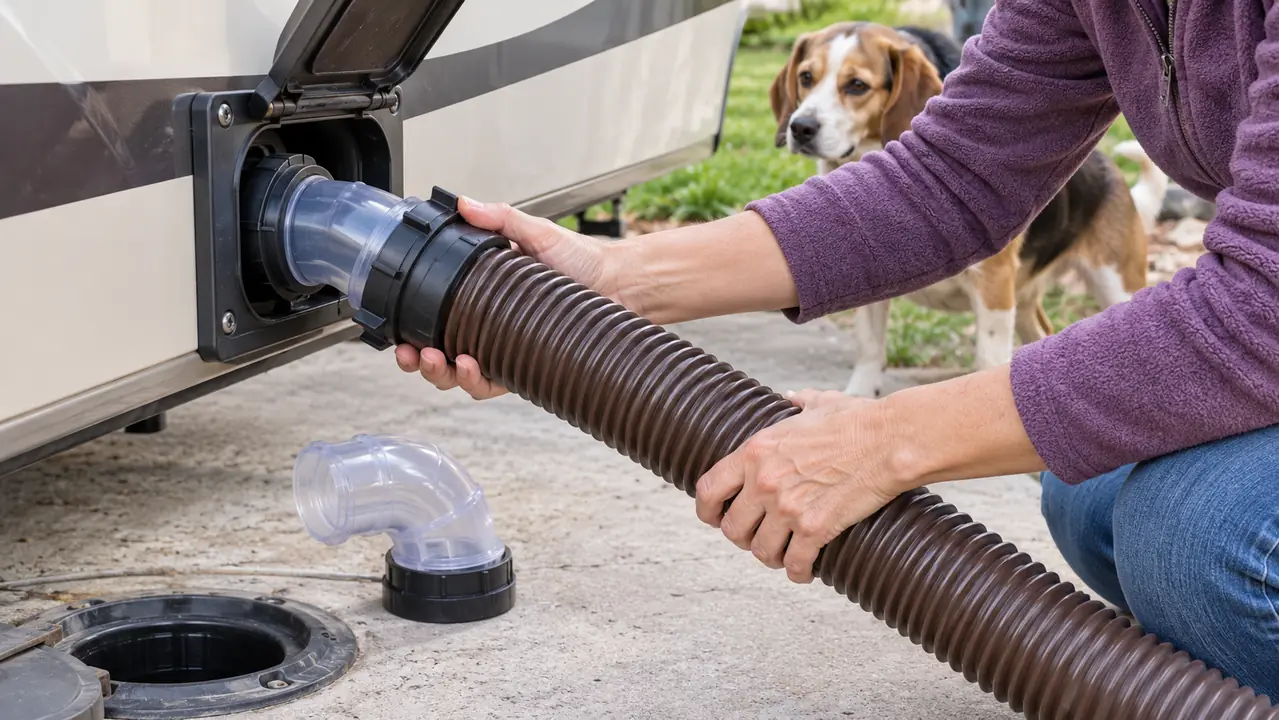
The bayonet fitting twists onto the lugs at the RV outlet and locks with a quarter turn. Because the fittings come pre-attached, there is nothing to thread and nothing to tighten with a wrench. Dean does that end. I stand at the other end with gloves on. This was not a division of labor either of us planned, it just turned out that way and we have kept it.
The clear elbow goes into the dump station pipe with the 4-in-1 adapter. Push it down, seat it, and check that it is sitting inside the pipe rather than balanced on the lip. I have watched people hold an elbow down with a foot for the whole dump because it was never seated right to begin with. A few extra seconds here saves you that entire dance.
The clear elbow is the piece I did not expect to care about and now would not give up. It lets you see what is moving through the hose. Not a pretty sight and nobody needs to linger over it. But when the flow runs clear, you know the tank is empty, and you are not guessing or flushing twice out of doubt. The Camco kit is the only one we have owned with it, so I cannot speak for anybody else's.
Step 3: Black Tank First, Then Gray, and Watch the Elbow
Black tank valve open first. Let it run until the clear elbow shows nothing but a trickle, then close it. Then the gray tank, which is the sink and shower water, and which does a decent job of rinsing the hose on its way out.
That order is not superstition. Gray water last means the hose and the elbow get flushed with something that is not black water, so what you coil up and put away is cleaner than it would be otherwise. It also means the last thing touching the inside of your hose is soapy water.
Open the valve all the way. A valve held half open gives you a slow, dribbling drain that takes ten minutes and leaves more behind in the tank than it should. Dean pulls it wide, lets it go, and shuts it firmly, and I watch the elbow while he does it.
If the flow slows down before the tank should be empty, close the valve and check the hose for a low spot where something has settled. Fifteen feet of hose laid across a curb will trap water in the sag, and you will stand there wondering why the tank is draining like molasses.
Three years, six trips a year, the same 15-foot kit, and the only drip we ever had came out of the hose the motorhome came with.
Step 4: Break It Down Without Dripping on Your Shoes
Valves closed first. Then the hose comes off the RV end, and this is where people get wet. The hose is still full when you disconnect it. Lift the RV end and walk the length of it toward the elbow, so what is inside runs downhill into the dump station instead of onto your shoes.
I hold the elbow over the pipe while Dean walks the hose. Then the elbow comes off and gets a rinse, and the hose goes into the bin with both ends up off the ground. We do all of this at the dump station, not back at the site, because the site is where Biscuit is, and I would rather not explain any of this to a beagle.
Fifteen feet at a 3-inch outside diameter holds a surprising amount of liquid, even after it has drained. Walking it out takes thirty seconds. Skipping that step costs you the rest of the afternoon and a conversation with whoever owns the site next to yours.
Step 5: Store It Where It Can Never Meet Your Drinking Water Hose
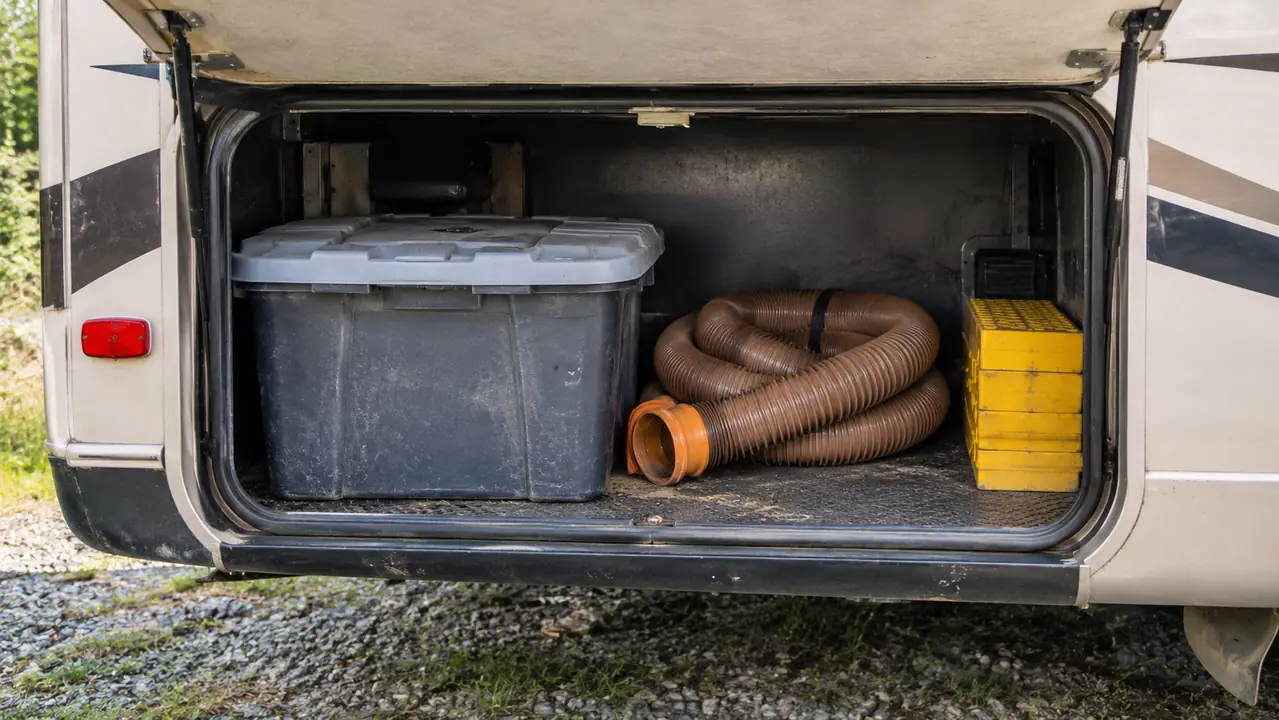
The kit goes back into its lidded plastic bin, and the bin goes into the outside storage bay on the opposite side from the fresh water hose. Not next to it. Opposite side. Ours has lived in the same spot for three years and I could find it in the dark with a flashlight and one hand.
This is the part I am fussiest about. The hose that carried black water does not share space with the hose that fills our tank. The bin has a lid because a lid means nothing drips into the bay, and the bay is also where the leveling blocks and the water hose live. Keeping those two things apart is a two-second habit, and I am not interested in finding out what happens if you skip it.
We own one 15-foot kit and no extension. At the sites we use, 15 feet has reached every inlet we have met. If you routinely pull into spots where the pipe sits far behind the pad, that is the one reason I would think about length before buying rather than after.
How Long the Whole Job Actually Takes
For us, a full dump with both tanks and a rinse runs about fifteen minutes from the moment Dean parks to the moment the bin is back in the bay. The first time we did it, it took closer to forty because we read every label twice and I made him check the elbow three times.
The setup is the slow part, not the draining. Parking, staging the bin, getting the gloves on, walking the hose to the inlet. Once the fittings are on and the valves are open, the tanks empty on their own schedule, and you are mostly standing there watching a clear elbow.
If there is a line behind you, keep it moving. Get connected, dump, rinse, break down, and pull forward before you do anything else. Nobody at a dump station expects you to be fast. They do expect you to be done before you start a conversation.
Three Things We Got Wrong Early On
The first was scouting. For the first several trips I would wait in the passenger seat while Dean pulled up, and then we would both discover that the dump station was one-way, or that the pipe sat behind a concrete lip, or that the rig needed to be two feet further forward. Now I get out and look before he commits. It costs me thirty seconds and saves us a discussion.
The second was storage. The old hose lived loose in the bay next to the fresh water hose because that is where there was room. Nothing ever came of it, but once I thought about it clearly I could not un-think it. The lidded bin cost less than lunch and solved a problem we did not need to have.
The third was the gray tank. We used to dump black first and then get distracted and leave the gray tank for the next stop. Now the gray tank gets dumped every single time, right after the black, because that is the rinse. It takes an extra two minutes and it is the difference between a hose that smells like a hose and one that smells like a mistake.
What Else Helps
Two other parts of our routine make the dump station less of an event. The first is leveling. Dean sets our Lynx Levelers under the low side before we hook anything up, so the rig sits close to level and the tank outlets drain toward the valve instead of away from it. A motorhome nose-high by six inches will hold water in the black tank and hand it back to you slowly for the rest of the trip.
The second is a pair of gloves that live in the bin, not in the kitchen drawer. If the gloves are with the hose, the gloves get used. Same for a small bottle of hand sanitizer and a jug of water for rinsing the concrete if you need it. All of it in one bin, all of it in one place.
And one general note from three years of watching other people at dump stations. Stay with your rig while it drains. Nobody minds waiting their turn. Everybody minds a hose left running while its owner goes back to the site for a coffee.
Fifteen Feet, Three Pounds, One Less Thing to Think About
The Camco RhinoFLEX 15 Ft Complete Sewer Hose Kit comes with the fittings attached and a clear elbow with a 4-in-1 adapter, so the only thing you have to figure out at the dump station is where to park. Three years in, ours has not split, kinked or leaked.
Amazon Check Today's Price on Amazon →