
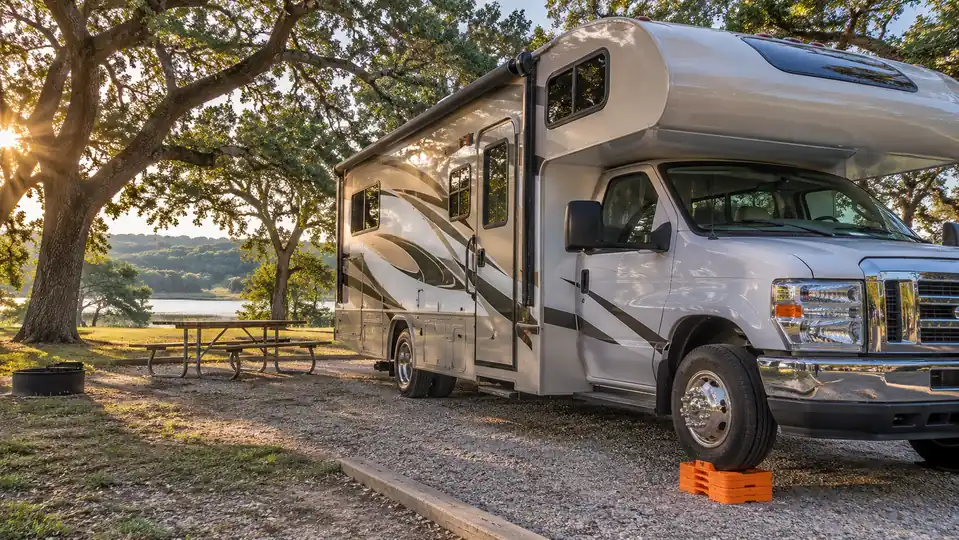
Six trips a year does not make us full-timers, but it makes us people who know where the leveling blocks are in the dark. Our 2019 Class C is about 25 feet, and it has no leveling jacks. For the first season, Dean leveled it with scrap 2x8 boards he cut himself. They were heavy, they slid on wet gravel, and we retired them. Before our second season, we bought the Lynx Levelers 11 Pack from Tri-Lynx, and we have used the same 11-pack for about two and a half years.
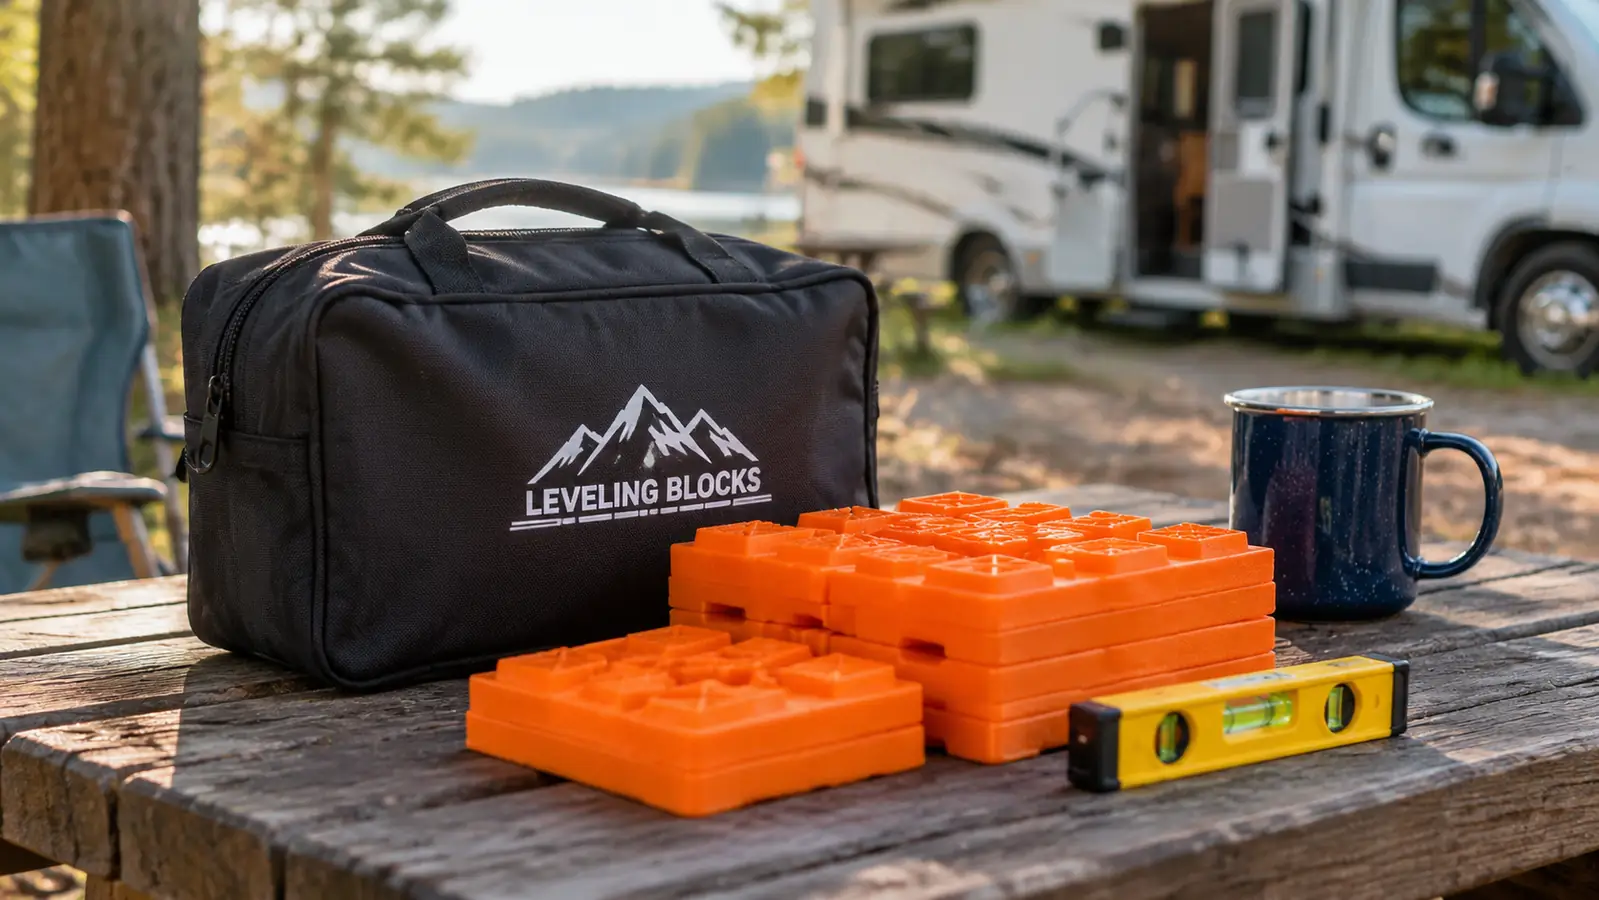
The kit is simple: ten interlocking leveling blocks, one Lynx Cap level top, and a storage bag. Each block is 8.5 by 8.5 by 1.5 inches and sits about 1 inch tall when interlocked. The cap is 8.5 by 8.5 by 0.5 inch and adds just 0.25 inch to the stack. Those numbers are the whole job. Once you know how much lift you need, you know how many blocks to grab.
The Kit That Replaced Dean's Scrap Boards
Ten interlocking blocks, one Lynx Cap, and a storage bag that stays in the outside bay. It is the same 11-pack we have used for about two and a half years, on every trip since our first season.
Amazon Check Today's Price on Amazon →Why the Boards Came Out of the Bay
The boards were not wrong. They were free, and Dean cut them to fit. But they were heavy to carry, and on wet gravel they would slide when the tire touched them. I did not like standing beside the tire while a board kicked out. The interlocking blocks are lighter, and they stay where I put them. The 11-pack also gave us a bag, which sounds like a small thing until you have carried loose boards across a campsite.
The Tri-Lynx blocks have been manufactured since 1992, and the set is made in the USA. I did not know that when we bought them. I bought them because a neighbor at a campground had a set and let Dean try one under our tire. The block did not slide, and Dean did not have to lift a wet board. That was enough for me.
Before You Start
Before I touch a block, I walk the site. I look for the low corner, the high spot, and any soft ground where a tire might sink. Dean stays in the driver's seat with the engine off and the parking brake set. I put a small bubble level on the floor inside the door, first front to back, then side to side. The level tells me which tire needs help and roughly how much.
Eye-balling it is how people end up nose-high with the refrigerator door swinging open. The bubble level takes ten seconds. On our first trip with the Lynx blocks, I put two under the wrong wheel because I trusted the look of the site. We backed off and moved them. I have checked with the level first ever since.
If the site is badly out of level, we move to another site. The blocks are for fine correction, not for turning a hillside into a flat pad. That is not a knock on the blocks. It is just what a manual leveling kit can do.
Step 1: Park, Chock, and Check Level Before You Unhook
Pull into the site the way you plan to stay. For us, that means Dean drives in, I get out and look at the whole pad, and we decide which end of the motorhome will sit higher. We do not unhook a tow vehicle because we do not tow. We do not put jacks down because we do not have them. The only thing I do before I open the storage bay is set the bubble level on the floor and read it.
Dean stays behind the wheel while I check. I keep the level near the step well so I can read it without crawling under the dinette. If the bubble is close to center, I leave it alone. If it is off by a full block, I know I need at least one block under a tire. If it is off by more than that, I start with two and test.
One more thing: check the site before you commit. A site that looks flat from the road can have a low rear corner. We have pulled into sites where the rear tire was sitting in a depression, and no amount of blocks would have made that spot right. We asked the office for a different site. That is allowed. People do it all the time.
Step 2: Count the Lift You Need, Then Grab That Many Blocks
One interlocked block gives you about 1 inch. The Lynx Cap adds 0.25 inch when it is on top. If the bubble says we are low by an inch, I start with one block. If it says two inches, I start with two. I would rather make two trips to the bin than stack four blocks and find out I only needed one.
On our motorhome, the rear tires usually need the help. The front is easier because I can see the tire and the block at the same time. The rear duallies are a different job, and I take my time. I set the stack aligned with the tire, not at an angle, so the tire rolls up the middle of the block.
We carry all ten blocks even though we rarely use more than three. The extra blocks let us build a wider base on gravel or make up a little more height on a site that is worse than it looked. If I need more than four under one tire, I stop and ask whether the site is worth it. Usually it is not.
Step 3: Build the Stack So It Cannot Walk Apart
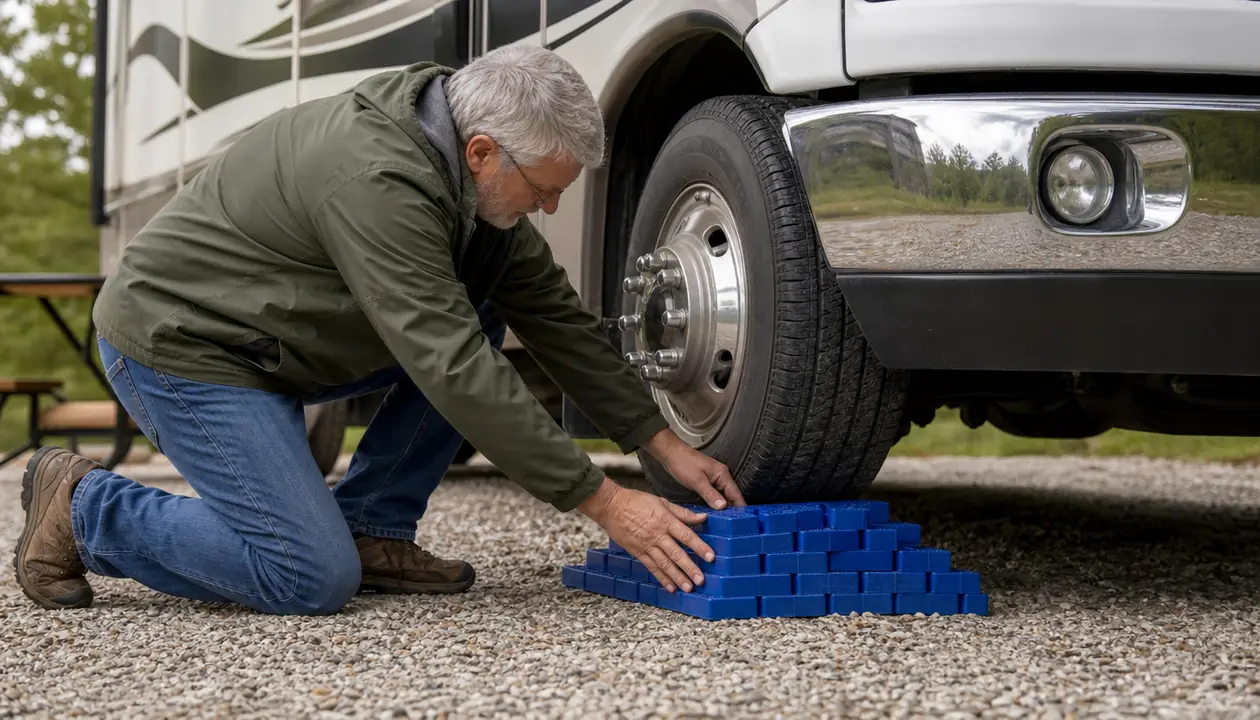
Interlock the blocks before they go under the tire. The blocks are made to fit together, and a stack that is snapped together behaves better than a pile of loose boards. Put the Lynx Cap on top if you are using it. The cap gives you a flat top and adds that 0.25 inch.
Keep the stack under the tire, not beside it. The tire should roll onto the center of the top block. If the stack is too far forward or back, the tire will push it instead of climbing it. I put my hand on the stack and wiggle it before Dean moves. If it shifts, I rebuild it.
On wet gravel, I clear the loose stones away first and set the bottom block on firm ground. The old 2x8 boards slid on wet gravel because they had nothing to hold them. The Tri-Lynx blocks do not slide apart the same way, but they still need a flat base. If the ground is soft, we move the motorhome a foot or two to a firmer spot. We do not use the blocks to bridge a hole.
Step 4: Drive On Slowly With a Spotter
Dean eases forward while I stand at the side of the tire, out of the path, and watch the block. He moves a few inches at a time. When the tire is on top of the stack, he stops and sets the parking brake. I check the bubble level again before he gets out.
If the bubble is worse, he backs off and I change the stack. If the tire pushes the block, we stop and reset it. This is not a race. The first time we did it, we took twenty minutes. Now it takes about five, and most of that is me walking around the motorhome with the level.
Do not let anyone stand in front of or behind the tire while the motorhome is moving. I stay to the side, and I use a hand signal Dean and I agreed on: flat hand means stop, circle means come ahead slowly. We have used the same signals for three years. It keeps the job quiet.
If you are new to this, practice in your driveway on a flat surface. Put one block under a tire, drive on, and get out to look. Then try two. You will learn what one inch feels like. You will also learn how far to pull forward. That practice takes twenty minutes and saves a lot of hand waving at the campground.
Step 5: Recheck, Chock, and Put the Bag Back in the Same Place
Once the motorhome is level, chock the wheels. We use rubber chocks, and we set them snug against the tire. The blocks are holding the tire up, but they are not a parking brake. The parking brake is the parking brake. The chocks are the backup.
I check the bubble one last time after we put the mat out and settle in. If the motorhome has shifted, we fix it before we open the awning or set up the chairs. A level motorhome makes the door swing right, the stove feel right, and the bed feel right. It also keeps the refrigerator happier, though I am not going to pretend I understand the science.
When we break camp, I wipe the blocks if they are muddy, let them dry, and put them back in the storage bag. The bag lives in the outside storage bay, same spot every time. The 11-pack came with the bag, and the bag is the reason we have not lost a block in two and a half years. The blocks stack inside it, the cap goes on top, and the handle makes it easy to carry with one hand.
At home, I open the bag and let everything dry in the garage before the next trip. The blocks are simple, but they are not indestructible. I check the edges for cracks and the cap for wear. In two and a half years, ours have held up. If a block ever does crack, I would replace it rather than use it under a tire.
One block is about an inch of lift. That number is the whole job. Get it wrong and you are either still nose-high or you are backing off to pull a block out in the rain.
What Else Helps
Three things make this easier. First, a small bubble level that lives in the motorhome, not in the toolbox at home. Ours is about the size of a deck of cards, and it stays in the drawer by the door. Second, a spotter who will stand still and use the same hand signals every time. Third, a routine. We check the site, check the level, build the stack, drive on, recheck, chock, and store. The routine is boring, and boring is what you want at the end of a travel day.
Two more things. Walk the site before Dean pulls in. If the pad is steep or soft, choose another site. And keep the storage bag in the same bay every time. The blocks are easy to find when they are in the bag. They are impossible to find when they are loose under the dinette.
One more small habit: I keep a rag in the bag. The blocks pick up grit, and grit in the interlocking joints makes them harder to seat. A quick wipe before they go back in the bag keeps the stack tight. It also keeps the storage bay cleaner. That is not a product feature. It is just what I do.
One honest limitation: the Tri-Lynx blocks are not a substitute for jacks, and they will not fix a site that is badly out of level. They are a manual system. You have to get out, look, stack, and drive. If you want to push a button from the driver's seat, this is not that. If you want a simple kit that fits in a bag and does the job, this is the one we use.
Make the Leveling Part the Easy Part
The Lynx Levelers 11 Pack from Tri-Lynx has ten interlocking blocks, one Lynx Cap, and a storage bag. Ours has been in the outside bay for about two and a half years. It is the first thing I grab when we pull into a site.
Amazon Check Today's Price on Amazon →